Tiny cameras for home monitoring offer advanced security with HD video, motion detection, and night vision, seamlessly integrating into households thanks to their compact size and wireless connectivity. To set up your network, assess lighting and clear lines of sight, test Wi-Fi signals, connect cameras to a dual-band router using manufacturer instructions, configure settings, and organize cameras into networks for efficient management. Thoroughly test the system post-setup to ensure optimal performance and secure video feeds from anywhere at any time.
Uncover the power of tiny cameras for transforming your home monitoring game with this comprehensive guide. From understanding the intricacies of these discrete devices to setting up a robust wireless network, we’ll walk you through every step. Learn how to prepare your space, configure your camera, and seamlessly link all devices for a comprehensive security system. Mastering this setup ensures peace of mind, offering remote access to your home’s every corner.
- Understanding Tiny Cameras for Home Monitoring
- Preparing Your Space for Camera Installation
- Setting Up the Wireless Network and Camera Configuration
- Linking Devices and Testing the System
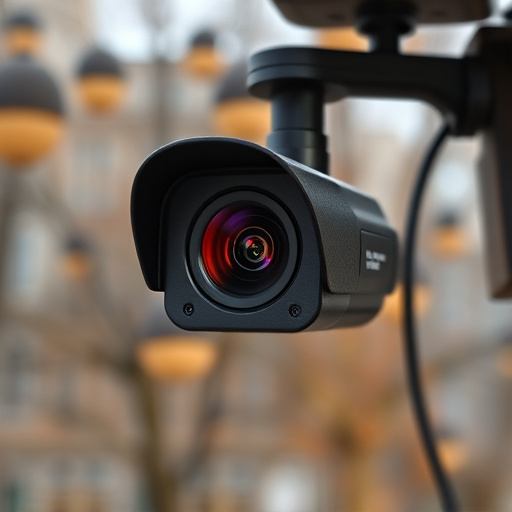
Understanding Tiny Cameras for Home Monitoring
Tiny cameras for home monitoring have revolutionized personal security, offering a discrete and effective solution for homeowners seeking peace of mind. These compact devices pack advanced features like HD video quality, motion detection, and night vision, all packed into a small form factor that can be easily hidden around your house. Their low-profile design allows them to blend seamlessly into various environments, from bookshelves and doorframes to ceiling corners and wall outlets, ensuring you capture the footage you need without anyone noticing.
With modern wireless technology, these tiny cameras connect effortlessly to a central network, enabling remote access through smartphones or computers. This means you can monitor your home from anywhere, at any time, providing a constant vigil for potential intruders or unusual activities. The flexibility and convenience of these systems make them an attractive option for those seeking robust yet unintrusive security solutions.
Preparing Your Space for Camera Installation
Before setting up your wireless hidden camera network, it’s crucial to prepare your space for optimal installation. This involves assessing your environment and identifying suitable locations for the tiny cameras for home monitoring. Consider factors like lighting—natural or artificial—as well as potential obstructions or angles that might impede clear views. Ensure the areas you choose offer adequate coverage without compromising privacy.
Clear and unobstructed lines of sight are essential for reliable camera function. Arrange furniture, curtains, or other objects to ensure the cameras have direct access to what you want to monitor. Additionally, test the network connection beforehand by ensuring strong Wi-Fi signals in these spots, as a stable internet connection is vital for seamless wireless hidden camera operation.
Setting Up the Wireless Network and Camera Configuration
Setting up a wireless hidden camera network is a straightforward process, especially when equipped with tiny cameras designed for home monitoring. Begin by ensuring your router supports dual-band Wi-Fi, which offers faster speeds and better range, ideal for connecting multiple devices simultaneously. Connect each camera to the network using a stable Wi-Fi connection, following the manufacturer’s instructions for initial setup.
Once connected, access the camera’s configuration settings, typically through a mobile app or web interface. Here, you can adjust privacy settings, configure motion detection zones, and set recording preferences. Name your cameras and organize them into networks or groups for easy management. Ensure each camera has a unique name to avoid interference and streamline monitoring from your central control panel.
Linking Devices and Testing the System
Once all your wireless hidden cameras are set up and connected to your network, it’s crucial to test the system thoroughly. Start by ensuring each camera can transmit a stable signal to the central hub or base station. This is often done via Wi-Fi, so verify that the connection is secure and reliable. Move around the area to check if the signal strength remains consistent across different locations, as this will guarantee comprehensive coverage for your home monitoring needs.
Linking devices is another vital step in optimizing your tiny cameras for home monitoring. Most systems allow you to connect multiple cameras to a single app or control panel. Test this feature by linking all your cameras and verifying that you can seamlessly switch between them while maintaining real-time video feed. This ensures that no matter where you are in your home, you have an unobstructed view and complete control over your wireless hidden camera network.
Setting up a wireless hidden camera network is an effective way to implement Tiny Cameras for Home Monitoring. By preparing your space, configuring your network, linking devices, and testing the system, you’ll gain peace of mind knowing your home is secure. These steps ensure a robust and discreet surveillance solution tailored to your needs.